If you have short hair that you just can’t seem to grow out into any kind of style. Fear not because you will not be stuck for style ideas on your big day. Below is the wedding hairstyles step by step method for the short hair. Hair extensions are a great way to add that extra length and volume to your hair for however long you wants it. However, long hair can take a lot of getting used to when you only really know how to style your own short hair, but don’t worry; you’re not going to have to pay a huge price for something you’re going to see as a chore for weeks on end after your wedding day. You can get clip in hair extensions that will easily last the day and can be taken in and out as you choose. You can also style the hair extensions to suit the look you want to create for the big event! Putting in clip in hair extensions is a lot easier than most people think, so you don’t have to spend a fortune on a hair stylist to do this for you.
- Selecting your hair extensions.
You need to select the hair extensions that will best match the colour and style of your own hair. First, choose the colour – the assistant at the store will help you decide which the best match for you is. Hair extensions need to blend in with your own hair and therefore, give the effect of real hair, rather than looking like a weave or hair piece. Take note when shopping around – don’t pay for cheap, imitation products – ensure your extensions are real human hair.
- Styling your hair extensions.
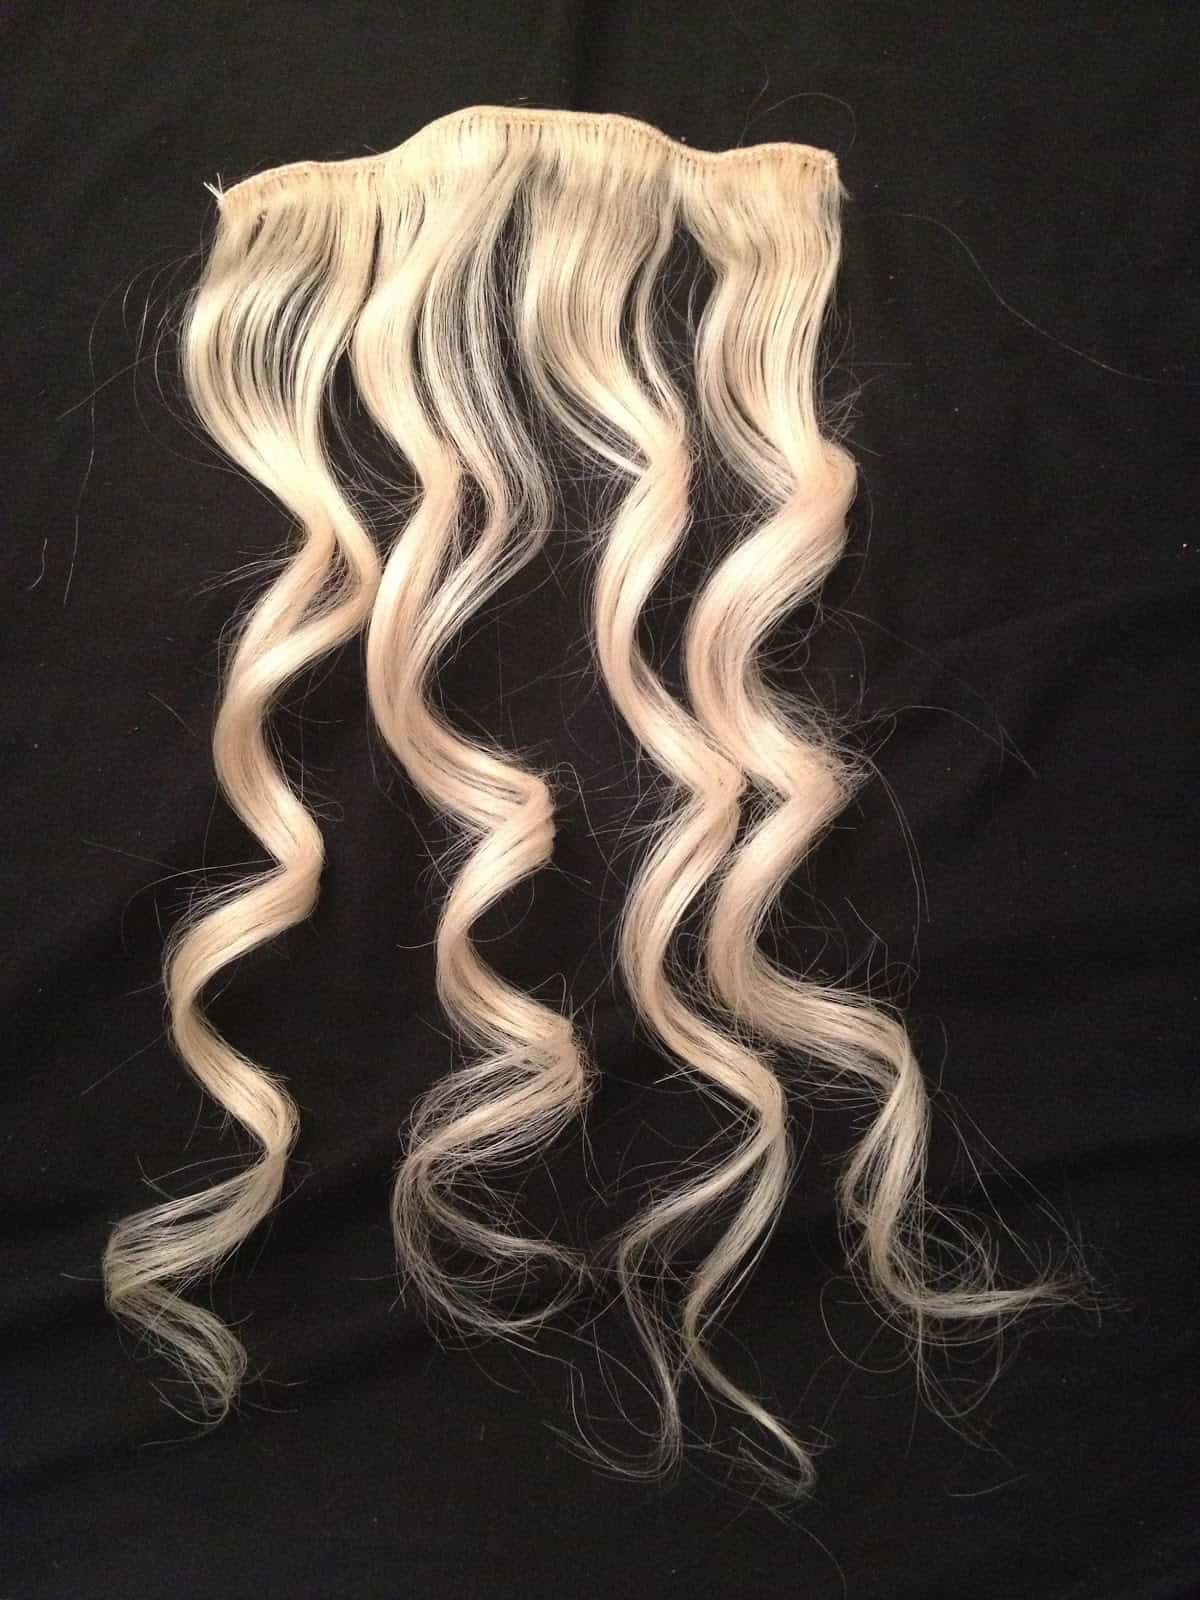
If you plan to have your hair poker straight for your wedding day, you will need to straighten your hair extensions to match this. This works exactly the same way if you plan to curl your own hair. The hair extensions are real human hair, so you can style them in the same way you would your own, taking care to use heat defence spray to protect your new locks! To curl them, simply select a portion of the new hair, hold the curling iron in one hand and the hair in the other. Wrap the hair around the curling iron in exactly the same way you would do with your own hair and hold it there for around 10 seconds. Give it a quick blast of hair spray to set and release the hair from the curler. This should leave you with a tight ringlet curl. You can loosen this slightly by running the tail end of a tail comb through the curl once or twice. You can then add more hair spray to suit, and another spray would be better considering this is your wedding day and you really don’t want your curls to start dropping out! You should be left with something resembling the photograph below. Repeat this for each section.
- Preparing your hair for the extensions.
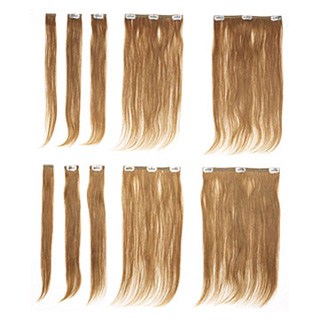
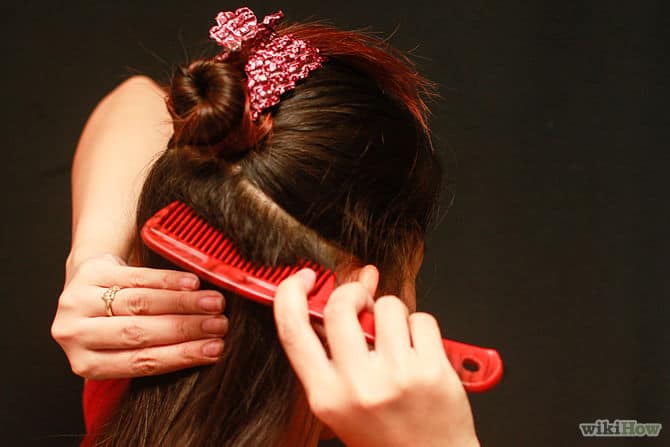
Once you have curled or straightened your own hair to match your new extensions, you need to separate a portion of your hair from the rest. Most packets of hair extensions you can buy come in sets of ten as pictured above. You can use as much or as little as you require to get the volume and length you are looking for. To begin, take a large portion of your hair from the top section, leaving just a small layer of hair around the back and the sides. You will need to do this for every large piece you have. For instance, if you plan on using three large pieces, you will need to do this three times. Therefore, select what you feel to be the right amount of hair each time for an even split.
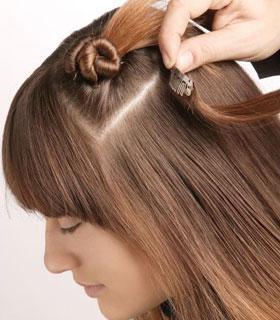
- Inserting the hair extensions.
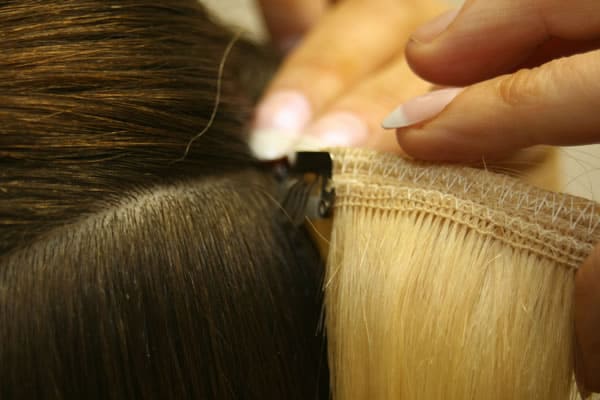
Once you have separated your first section of hair, you can begin attaching the first extension. As you can see in the photograph below, you need to hook the small clips onto your own hair. Gain a tight fit by clipping them to a few hairs on the top (put up) section of the hair as well as the hair that is down. This will ensure the hair stays put all day and doesn’t simply slide down! Work by doing the back center first of all, and then move around the sides of the hair, making sure it is pulled taught, but just enough so there is not too much pressure on the extensions that they are pulling down on the hair.
- Inserting your side pieces.
Follow step four until you have inserted all of the large pieces that you intend to use for your new style. The more you use, the more volume will be added to your hair, but you will always achieve the same length. Once you have done this, you should be left with the sides of your hair looking a little limp compared the rest. This is where you are going to use the thin strips with just one clip, as shown in the first picture. Separate the sides of your hair into sections in the same way that you did for the larger pieces. Start with one side first and complete this before moving onto the next side of your hair. Insert the clips in exactly the same way, but using a much smaller section of hair each time, to suit the smaller section of hair you are trying to insert.
Once completed, play around with the hair until it sits right. You can run the tail end of a tail comb through it again to blend the extensions in with your own hair a little more until you complete the look you are aiming for. Get more step by step methods for short hair guide on mybridehairs.com now.
If you have done it already by some other method that makes your wedding day amazing then please mention it in the comment or contact us we will share your method to help everyone.
Photographs taken from:
beauty-not-the-beast.blogspot.co.uk/2013/03/pukka-hair-extensions-and-enrapture.html www.sherridoeshothair.com/hair-advice/hair-extensions-the-good-bad-ugly/ www.wikihow.com/Attach-Clip-in-Hair-Extensions www.mishishi.com/2012/06/extensions/ www.proextensions.com/clip-in-hair-extensions